
Decramastic Liquid Membrane Spray-On Chip Coating Process
No matter what style of roof you have the process is similar.
Get A Free Quote
A specialist spray-applied system that restores and protects worn Decramastic tile roofs — available with or without a chip finish.
Important: this is not a paint. Paint sits on top of the surface and simply changes colour — it doesn’t waterproof, and it cracks and peels as the roof moves. Our system is a true liquid membrane: a flexible, waterproofing layer that bonds to and seals the roof, restoring both its look and its weathertightness. Most Decramastic roofs of this era contain asbestos within the tile sheet itself, which is completely normal and, left undisturbed and sealed, is not a health risk. Every step of our process is designed around this — restoring and protecting the roof without ever cutting, grinding, or disturbing the tile substrate underneath.
The stonechip spray on process step by step
1. Moss & Mould Treatment
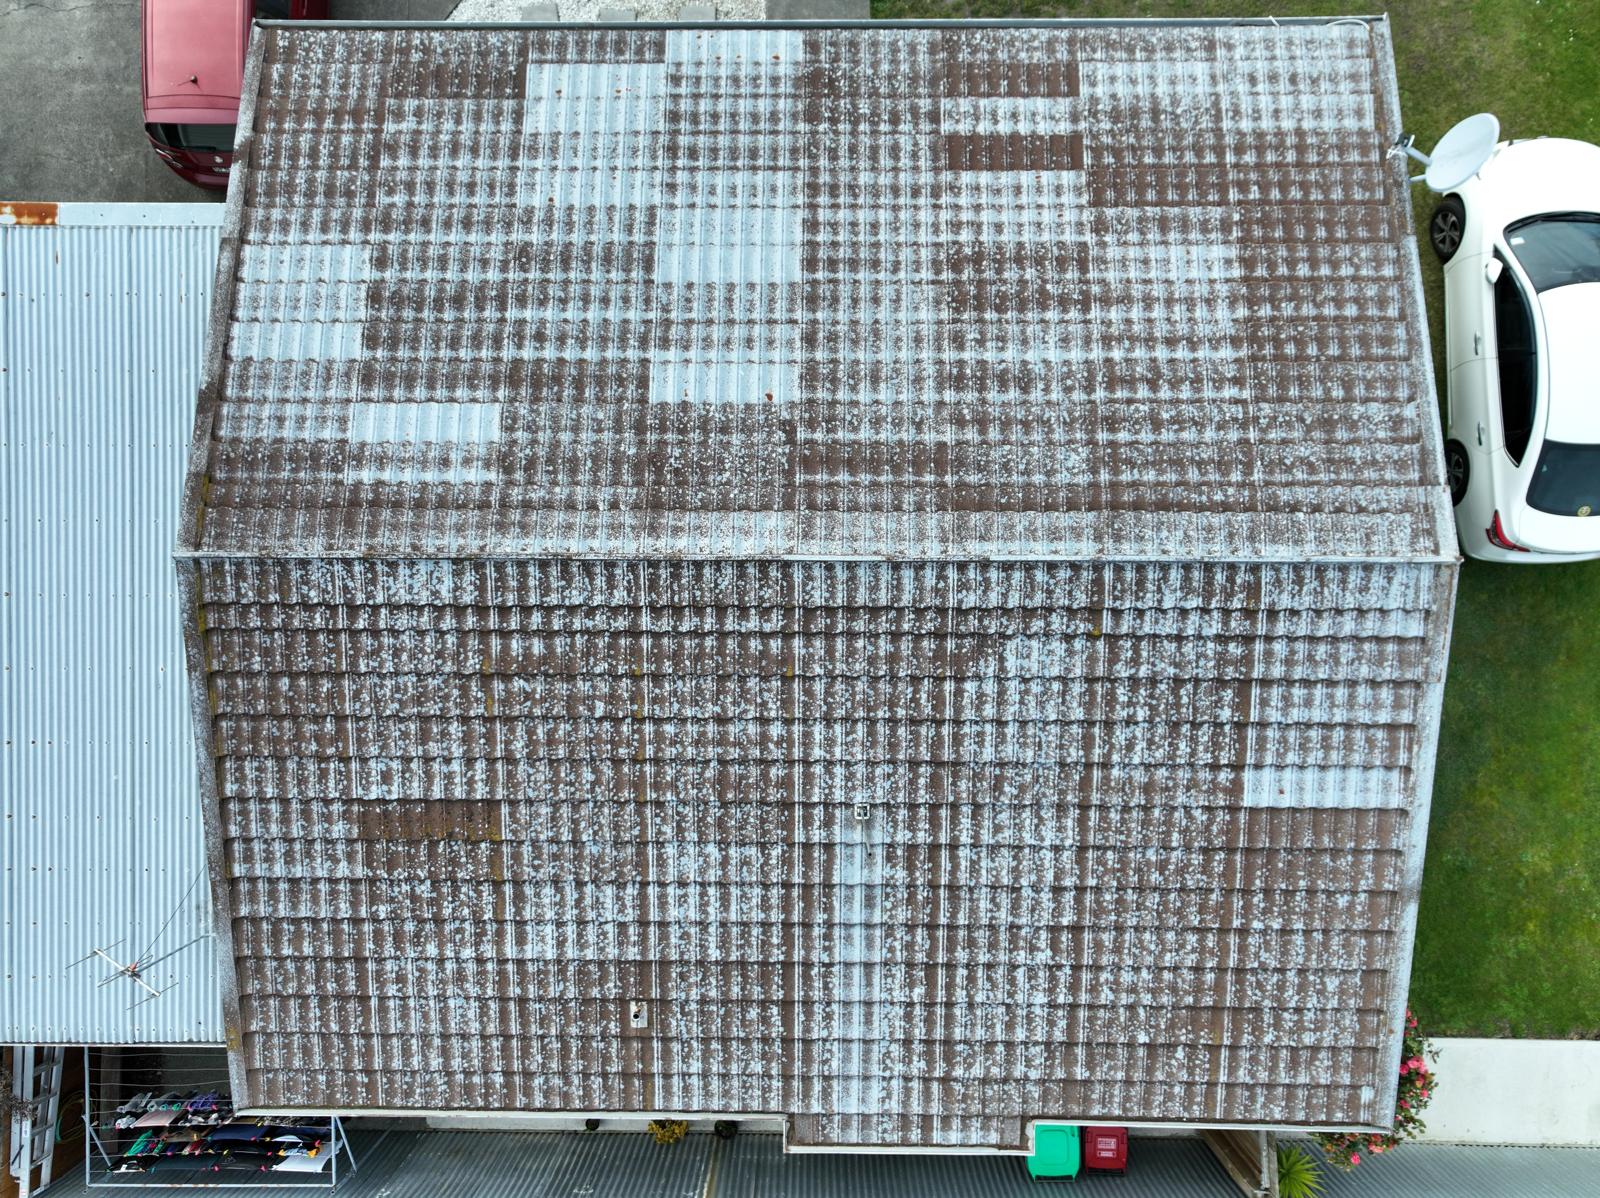
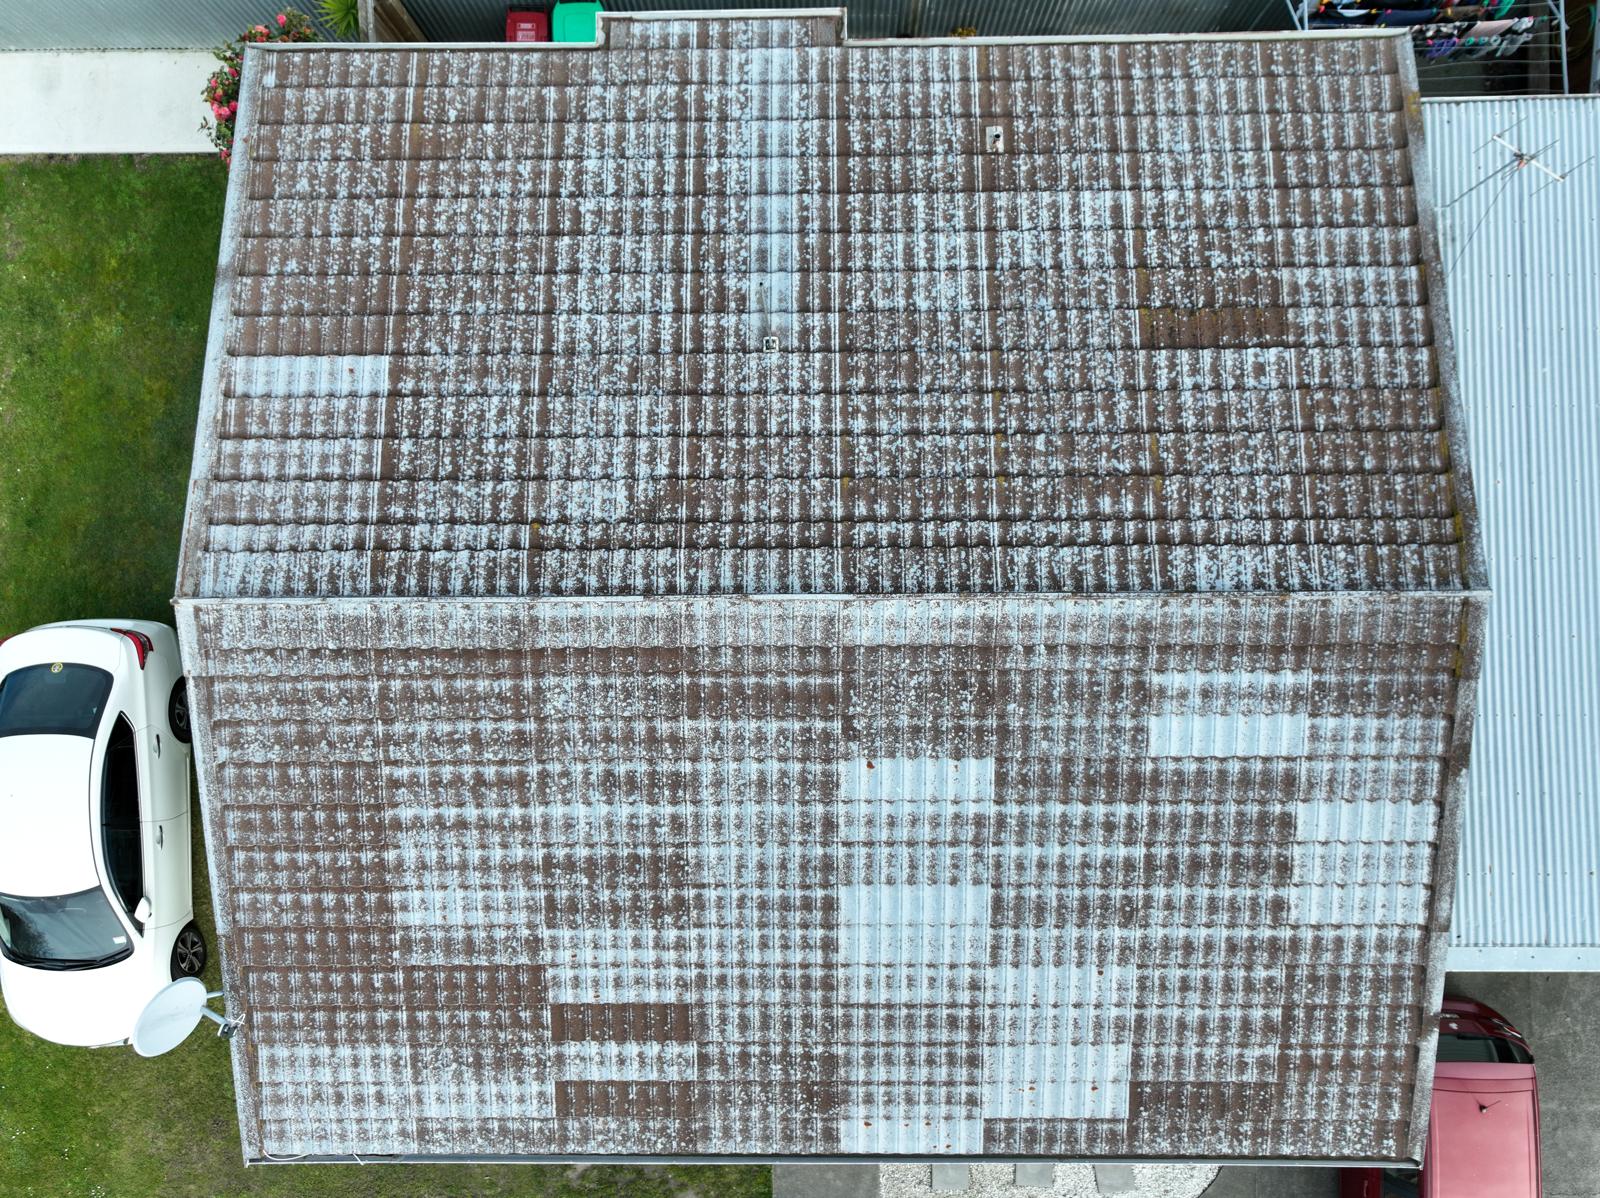
If the roof hasn’t had a moss and mould treatment already, this is the essential first step. We spray the roof with our treatment solution and let it dwell — depending on how established the growth is, this can take a few months to fully take effect before the roof is ready for washing and coating. If your roof has already had this treatment done, we move straight to the wash and inspection stage.
2. Low-Pressure Soft Wash
Once the moss treatment has done its job, the entire roof is washed down at low pressure, under 300psi — a soft wash, never high-pressure or water-blasted. This is because Decramastic tile roofs contain asbestos, and washing at anything above a gentle, low-pressure soft wash risks abrading, scraping, or breaking the tile surface and disturbing the material. Keeping pressure under 300psi clears dirt, moss residue, and loose material safely, without ever compromising the asbestos sheet.
3. Rust Inspection & Treatment
Every roof sheet, ridge cap, flashing, and fixing point is inspected. Any rust or corrosion is neutralised and treated so it can’t spread once sealed underneath the new coating.
4. Re-Nailing
Loose, lifted, or worn fixings are re-nailed and secured using existing fixing points wherever possible, keeping any new penetration of the sheet to an absolute minimum.
5. Choice of Finish — Membrane Base + Rechip, or Two Membrane Coats
Option A — Membrane stonechip spray on hopper gun method system
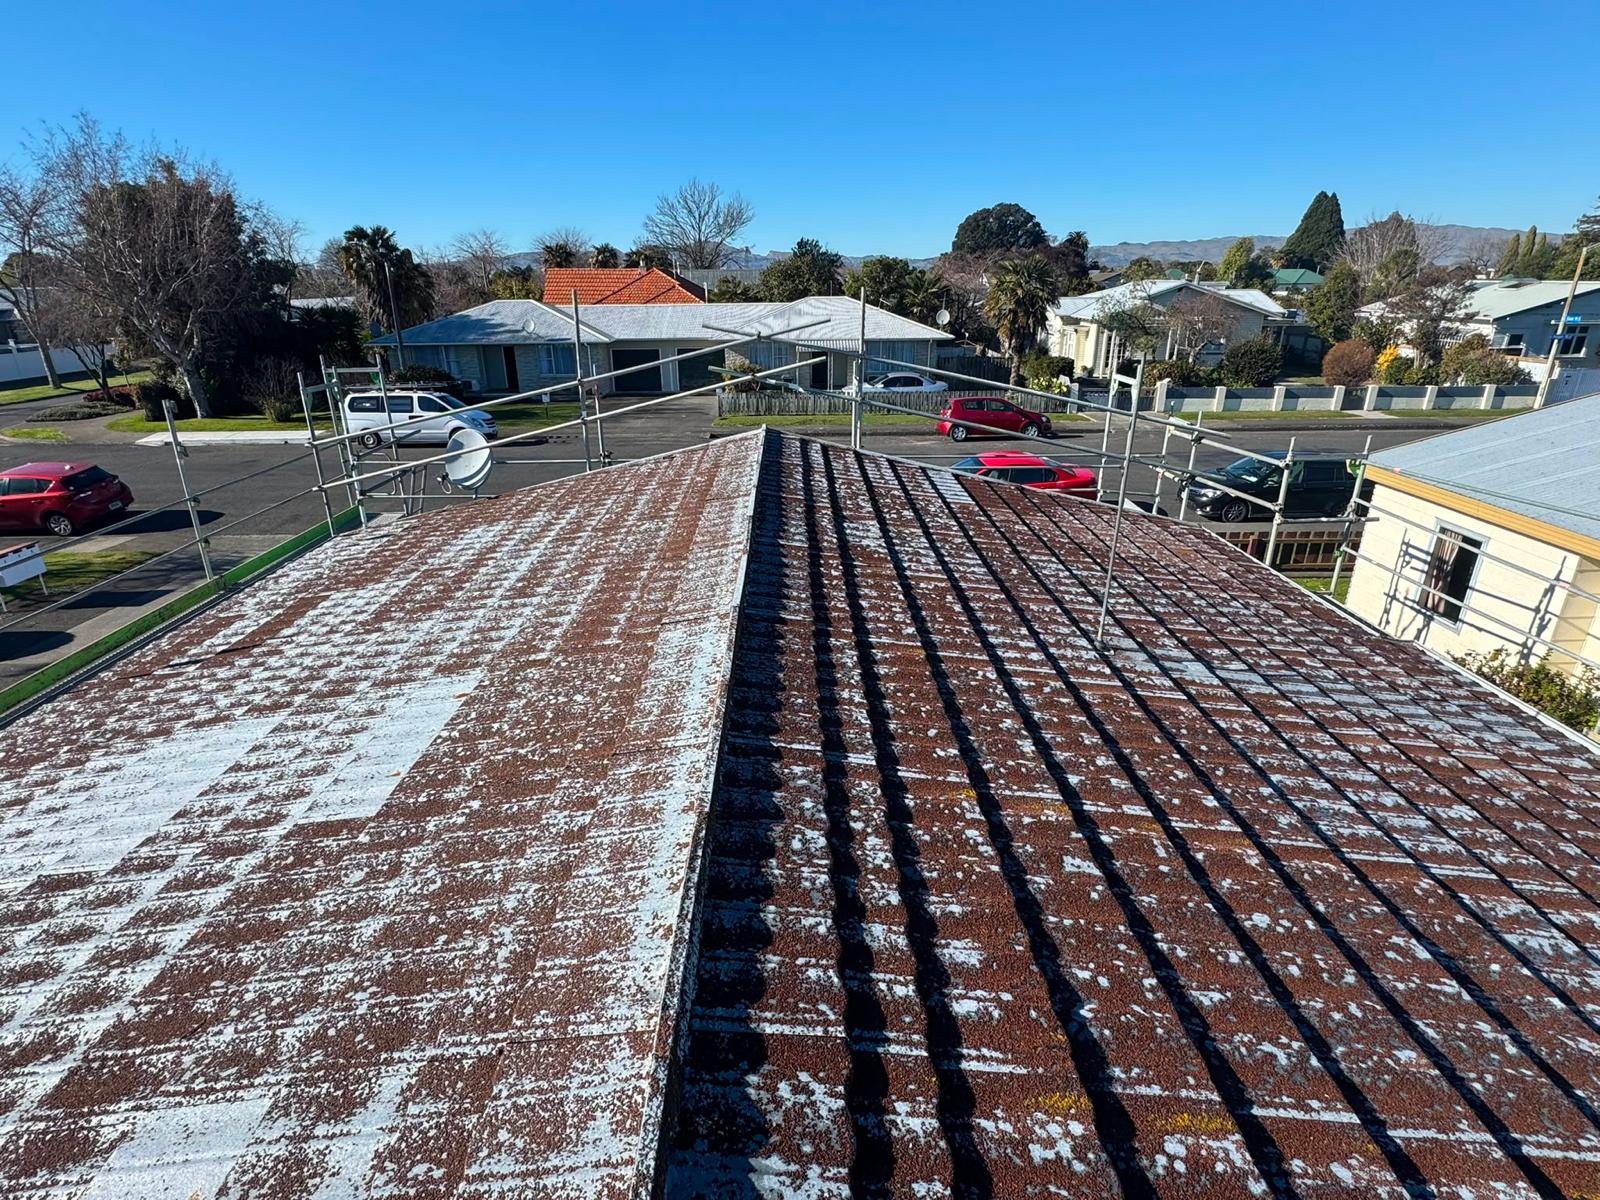
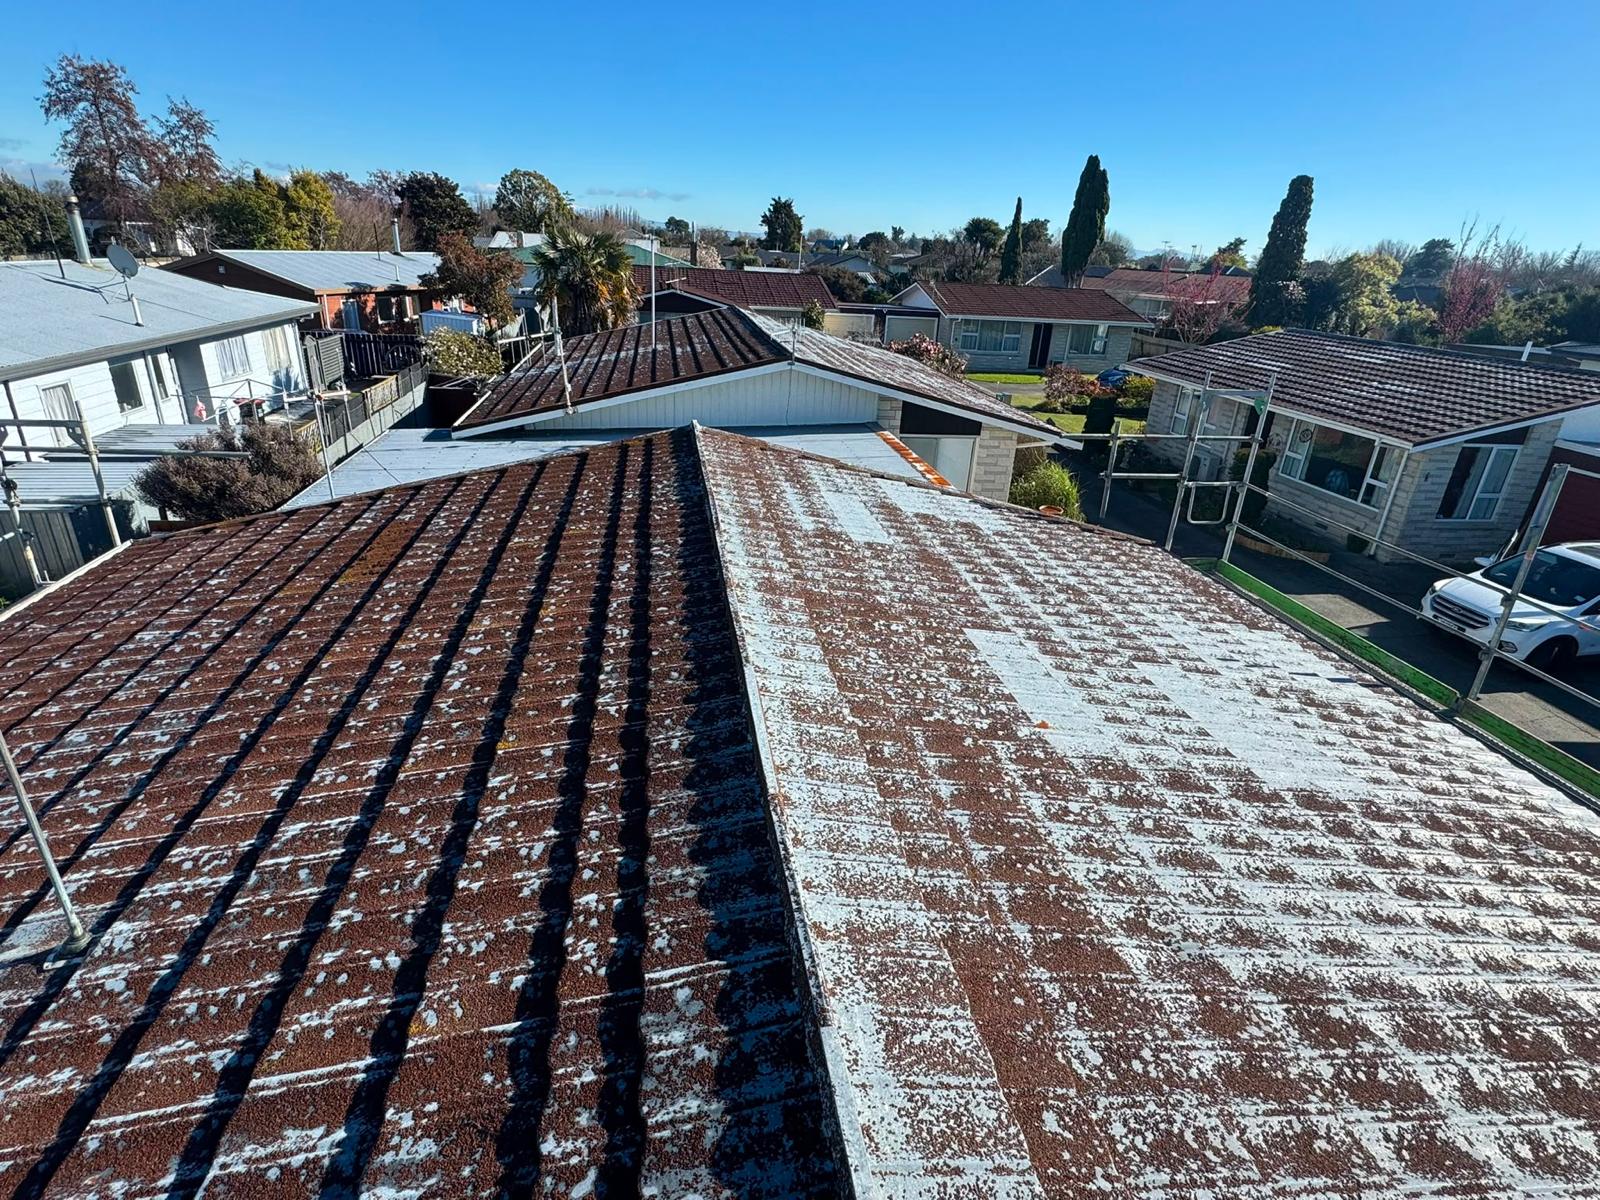
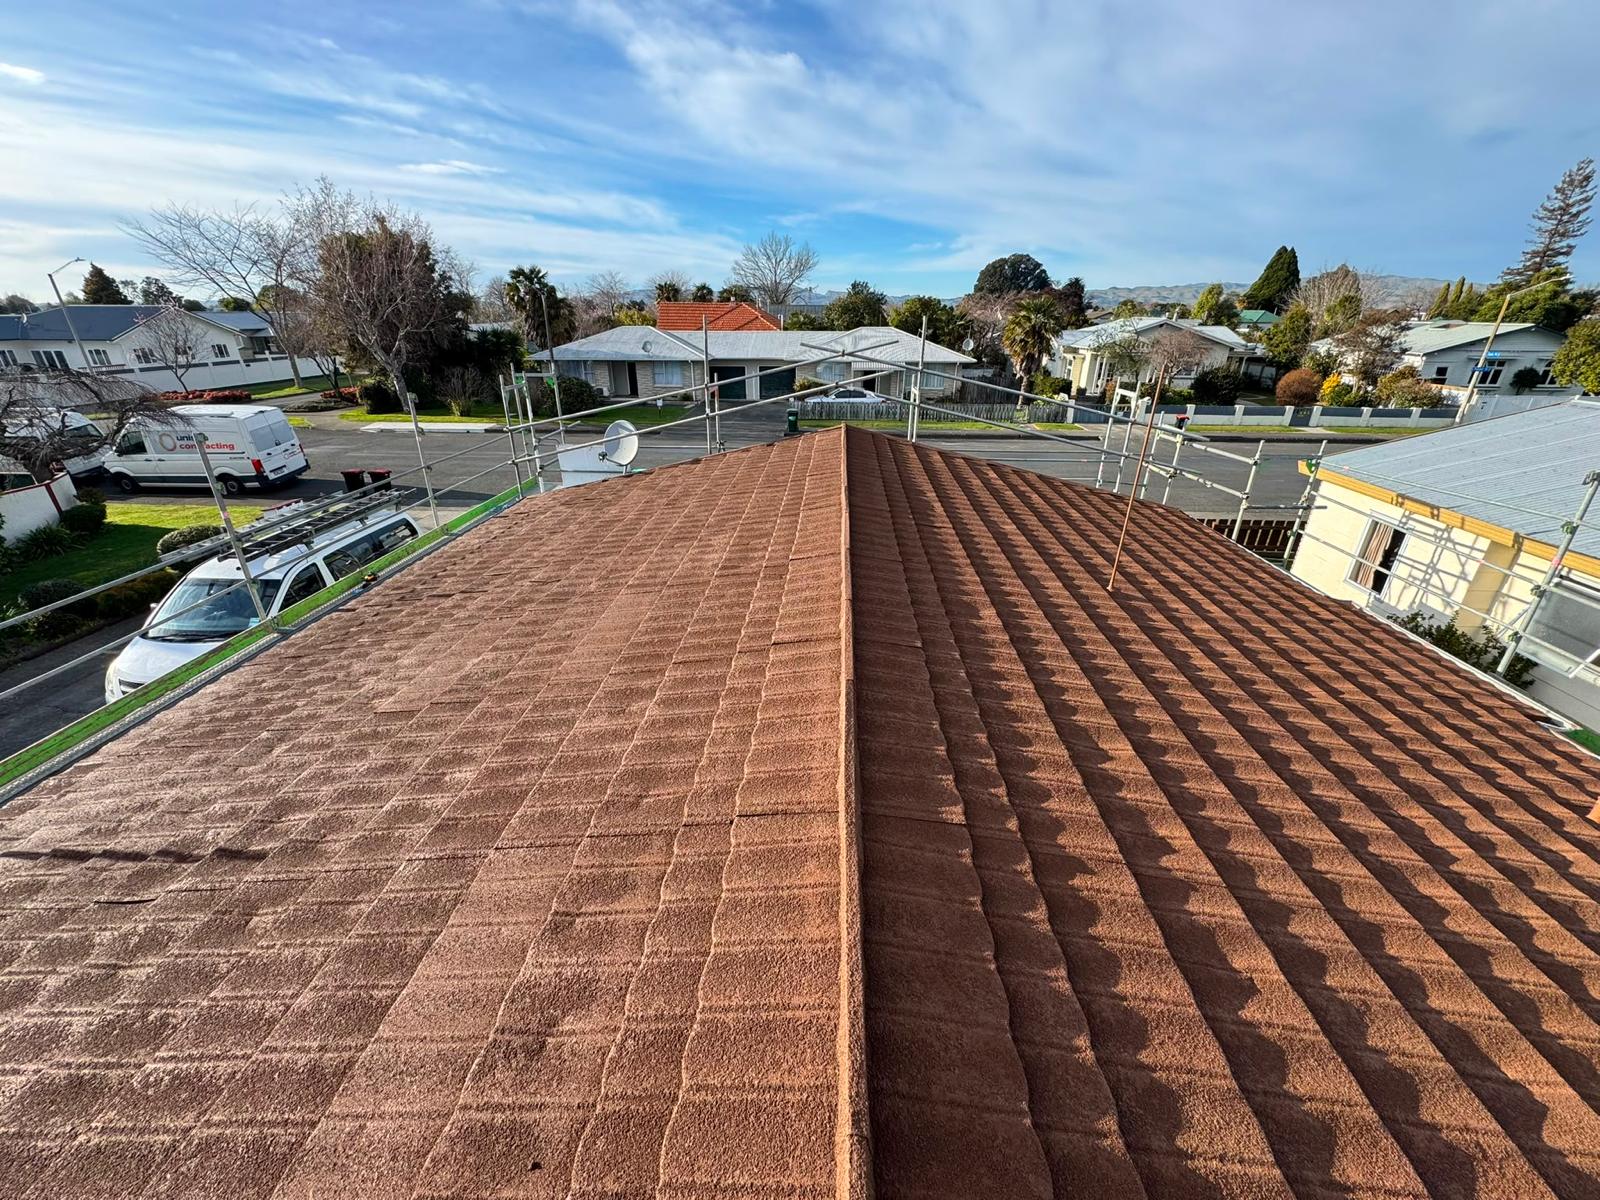
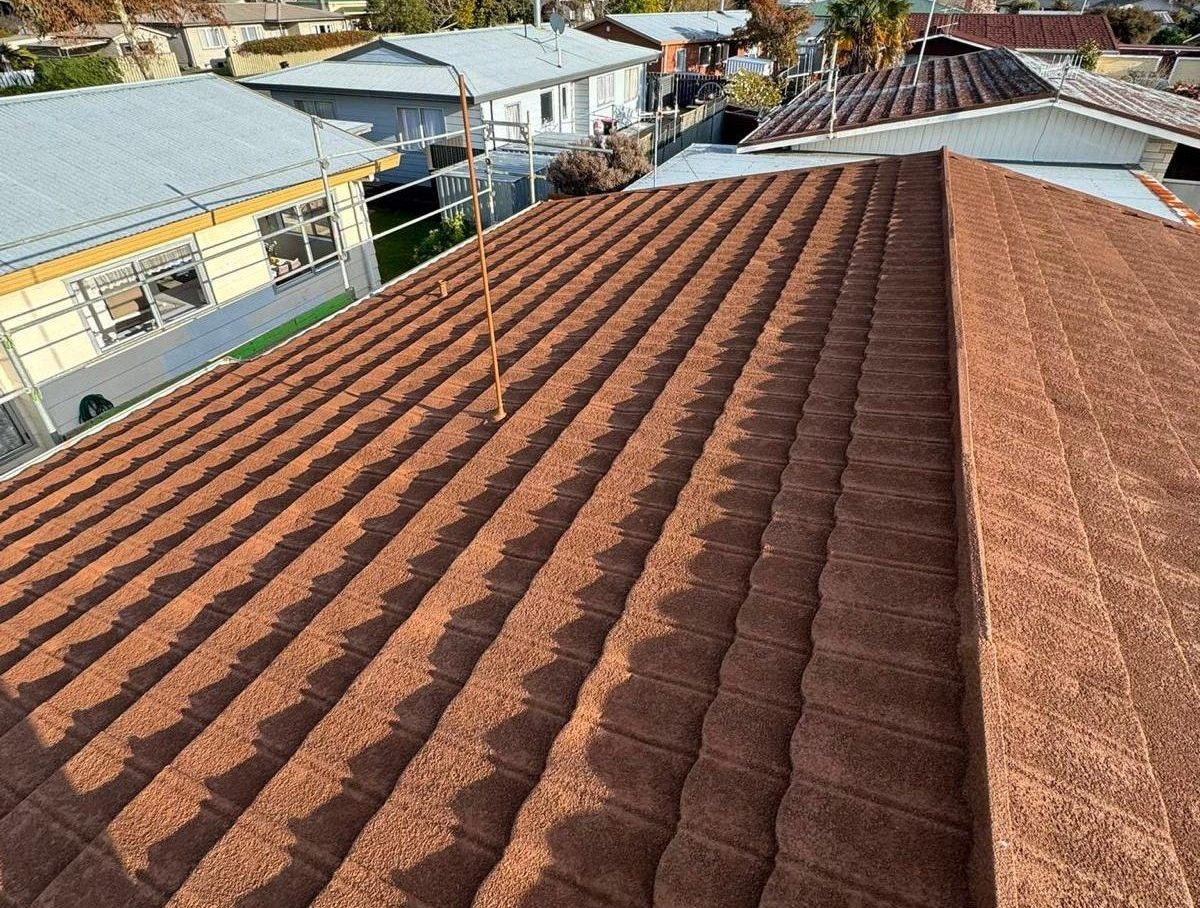
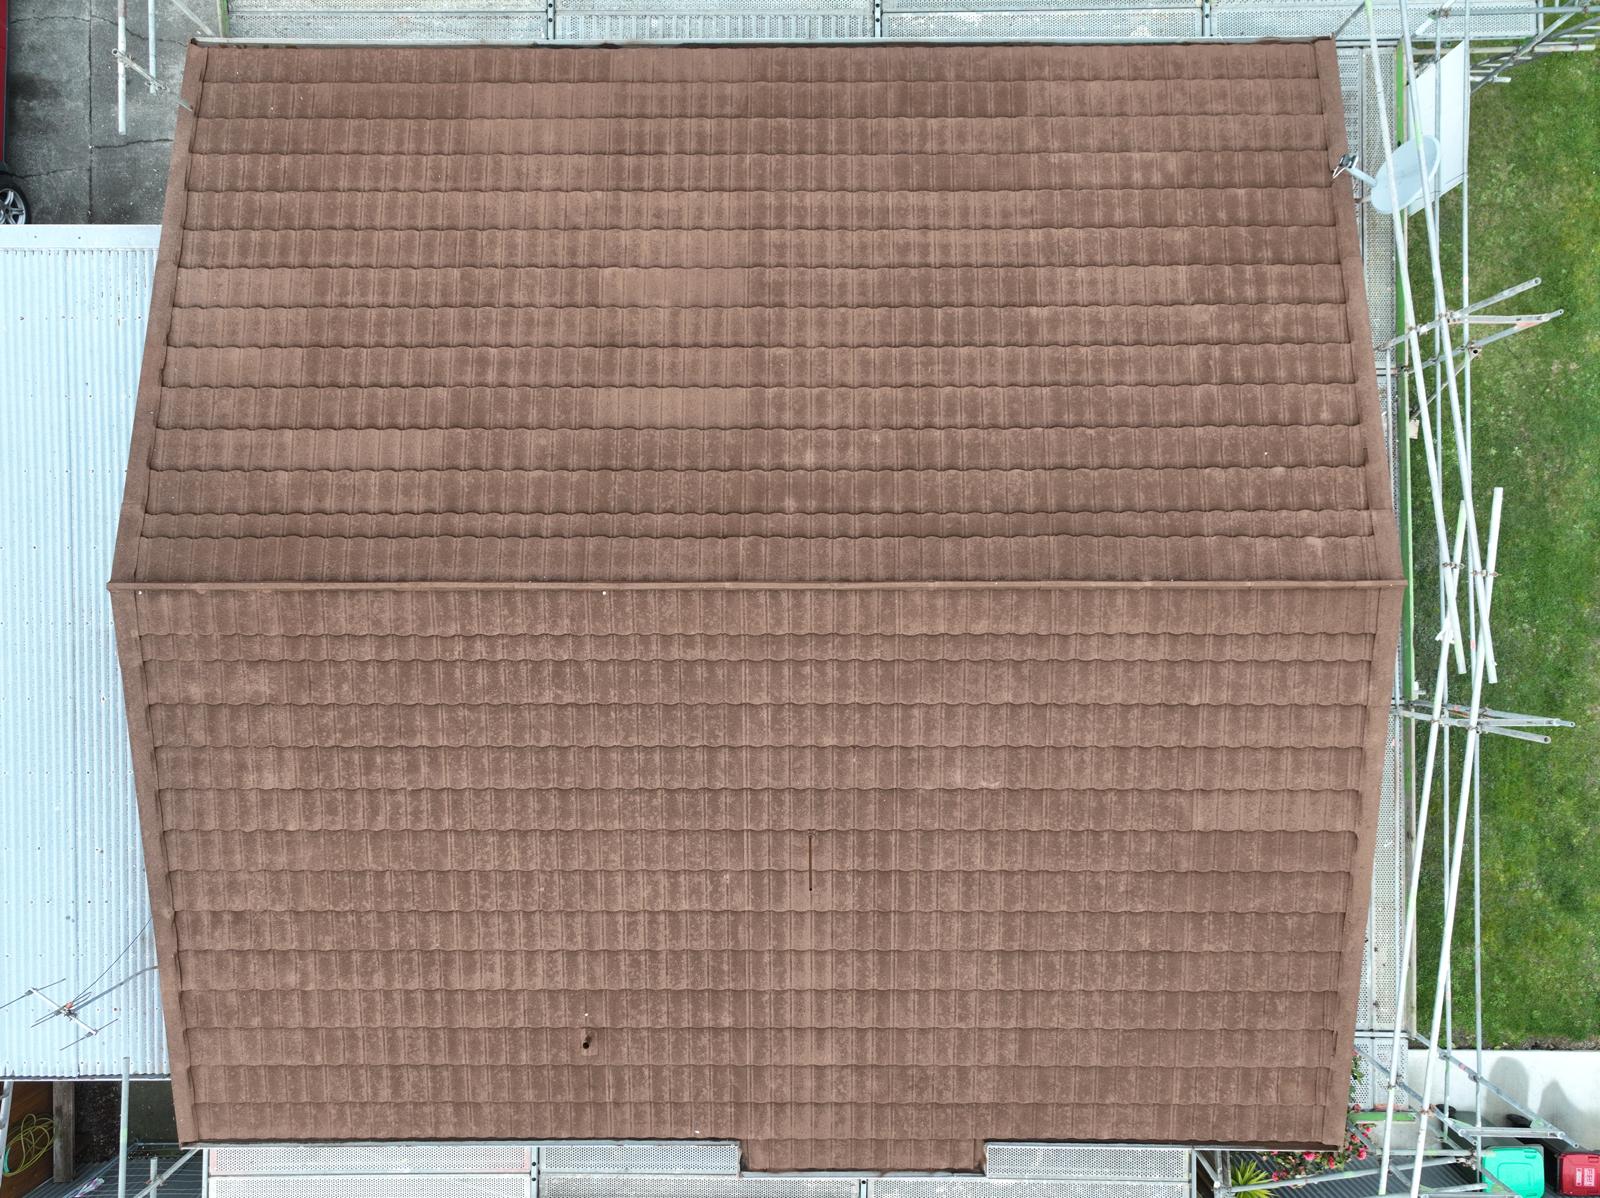
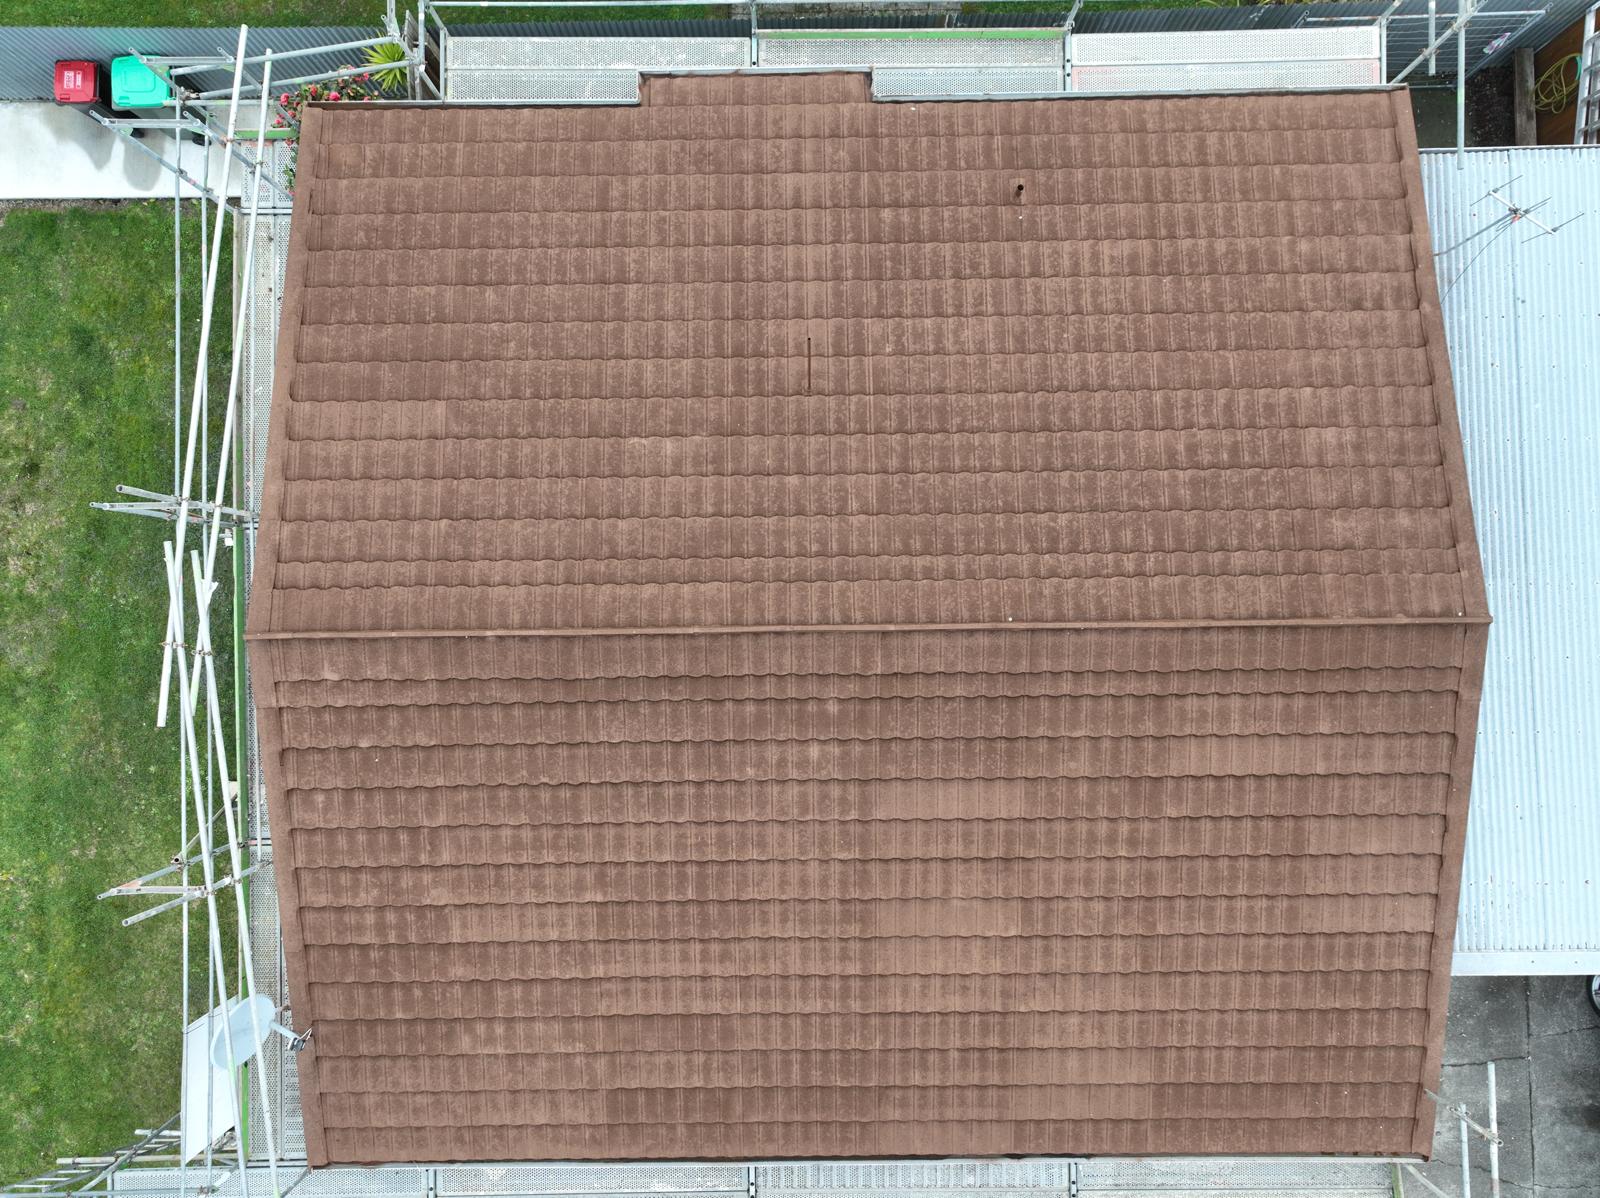
For roofs where the original chip has worn away or is patchy, we first apply a self-priming membrane base coat, which bonds to the prepared surface and seals it. Once the base coat is down, we spray-apply the rechipping membrane on top using the hopper gun method. The chip itself contains a bonding agent, so as it’s sprayed on it fuses together with the membrane and locks onto the tile — the chip doesn’t just sit loosely on the surface, it bonds in as one sealed layer, sitting flush and secure on the tile and recreating the original Decramastic granulated finish.
Option B — Membrane Coat Only (no chip) — Two Coats
For roofs where the original chip is still in good condition, we apply two coats of self-priming membrane directly over the existing chip. The first coat bonds and seals the surface; the second coat builds up full waterproof protection over the top. This locks the existing chip in place, protecting it from further weathering, UV breakdown, and chip loss — sealing the roof as-is rather than re-texturing it. A smooth, protective finish at a lower cost when the roof doesn’t need a full re-chip.
Get A Free Quote
Which Option Is Right for Your Roof?
Chip is worn, patchy, or missing in places? → Option A, membrane base coat + rechip restores the full textured, factory-fresh look.
Chip already in good condition, just needs protection? → Option B, two-coat membrane seals it in place, stops further chip loss, and extends its life at a lower cost.
A Two-Stage Job, Done Right
Because moss dwell time varies, restoring an untreated Decramastic roof is naturally a two-stage process: Stage 1 (moss & mould treatment, a few months’ dwell) followed by Stage 2 (wash, inspection, and your chosen coating finish, approx. 3 days on site). Roofs that have already had Stage 1 done can go straight into Stage 2.
Membrane vs Paint — Why It Matters
- Paint sits on the surface, is rigid, and cracks/peels as the roof expands and contracts with weather
- Membrane is flexible and elastomeric, moving with the roof and staying sealed and waterproof over time
- Paint offers no real waterproofing — it’s cosmetic only
- Membrane actively waterproofs, seals joins and fixing points, and protects the steel tray underneath from further rust
Why This Process Is Safe for Roofs
Because most Decramastic tile roofs contain asbestos, our entire system is built to encapsulate and permanently seal the existing tile rather than remove or disturb it:
- Soft wash only, under 300psi — the surface is never abraded or broken
- No drilling, cutting, grinding, or sanding into the sheet at any stage
- Dented tiles are assessed and replaced where needed before coating, minor dents are safely left in place
- Re-nailing uses existing fixing points to minimise penetration
- Both finish options lock the asbestos tile in permanently, sealing it from weather and wear.
This makes spray-on membrane restoration one of the safest and most cost-effective alternatives to a full re-roof.
Advantages
Enhanced Durability
Our liquid membrane coating extends the lifespan of your roof by offering superior protection against the elements.
Aesthetic Appeal
Available in various colors, our coating enhances your roof's look while maintaining its protective qualities.
Cost-Effectiveness
Investing in our roof coating reduces the need for frequent repairs, saving you money in the long run.